FreeWebCheck
How to Compress Images for the Web Without Losing Quality
I once uploaded a 12 MP phone photo straight to a blog post and wondered why the page took six seconds to load. The image was 4.2 MB. After compressing it to WebP at quality 80, it dropped to 340 KB and the page loaded in under two seconds. One file was responsible for more than half the page weight.
Images make up over 50% of the average webpage’s weight, and a single uncompressed photo from a modern phone can be 4–5 MB. But you don’t need Photoshop or a design degree to fix this. Everything below runs entirely in your browser.
Why Image Optimization Matters
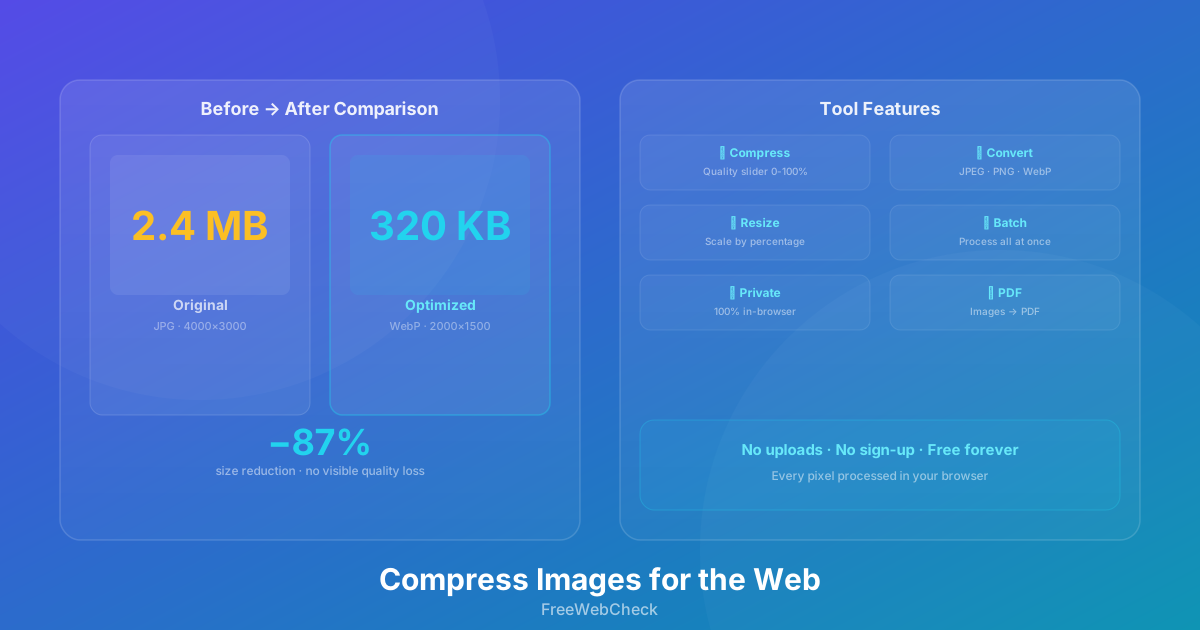
Every kilobyte you shave off an image translates into faster load times. Google uses page speed as a ranking factor, and visitors bounce if pages take more than 3 seconds to load. Google Search Central officially states that page speed is a ranking factor for both desktop and mobile searches (source). I had a landing page where swapping a 2.4 MB hero image for a 300 KB WebP dropped load time from 4.2s to 1.8s — that was from optimizing just one file.
Bandwidth costs add up too. If your site gets 10,000 visitors a month and each page has 2 MB of images, that’s 20 GB of bandwidth. Compressing images by 70% drops that to 6 GB. On metered hosting, that’s real money. And for visitors on slow connections, the difference between a page that loads in 1 second and one that takes 5 is the difference between keeping them and losing them.
The Three Levers of Image Optimization
You have three ways to reduce file size. Use them together.
1. Compress the Quality
JPEG and WebP support adjustable quality, and 80 out of 100 typically looks identical to the original while taking up half the space. The Image Toolkit has presets — Balanced (80) for most web use, Small File (55) for thumbnails, Tiny File (30) for placeholders. The quality slider goes from 1 to 100, and smart optimization automatically retries at lower settings if the file doesn’t shrink enough.
2. Convert to a Modern Format
This is where the biggest gains come from. WebP delivers 25-35% smaller files than JPEG at the same quality, with transparency and animation support. According to Google’s WebP documentation, lossy WebP images are 25-35% smaller than JPEGs at equivalent SSIM quality index (source). Convert your photos to WebP and you’ll see the difference immediately. PNG is still better for screenshots and anything with text — it’s lossless and preserves sharp edges. For email newsletters, stick with JPEG since WebP support is spotty in email clients.
3. Resize to the Right Dimensions
This is the most effective optimization and the one most people skip. If your page displays images at 800px wide but your source is 4000px, you’re wasting about 85% of the file size. A good starting point: blog content at 1200px wide, hero images at 1920px, thumbnails at 400px. The toolkit resizes by percentage — try 50% on a 4000px photo to bring it to 2000px, which is still more than enough for most screens.
How to Use the Image Toolkit
The Image Toolkit is 100% client-side — your images never leave your browser. Here’s how to use it:
- Upload images — Click “Select Images” or drag and drop anywhere on the page
- Choose a preset — Pick Balanced for most web use, or adjust quality manually
- Toggle format — Convert to WebP for the smallest file size
- Resize if needed — Drop to 75% or 50% for very large images
- Download — Processed images appear instantly. Download individually or all at once
The tool processes files in batches. Upload 20 images, adjust settings once, and download all optimized copies. No waiting, no server round-trips.
Before and After: Real Numbers
Here’s what a typical optimization run looks like with the Image Toolkit:
| Image | Original | After | Savings |
|---|---|---|---|
| Phone photo (12 MP) | 4.2 MB JPG | 480 KB WebP | 89% |
| Screenshot | 2.1 MB PNG | 340 KB WebP | 84% |
| Product photo | 1.8 MB JPG | 260 KB WebP | 86% |
| Banner image | 640 KB JPG | 140 KB WebP | 78% |
These are real results from compressing typical images. The exact savings depend on the image content and quality settings, but you can expect 70–90% reduction for most photos. I’ve been guilty of uploading full-resolution photos straight to blog posts myself — it’s an easy mistake. The difference after a quick pass through the toolkit is honestly night and day.
Quick Checklist
Before publishing images on the web, run through this list:
- Convert to WebP (or JPEG for compatibility)
- Set quality to 80 (Balanced preset)
- Resize to the display dimensions (max 1920px wide)
- Enable smart optimization for automatic best results
- Strip metadata (the toolkit does this automatically)