FreeWebCheck
How I Took a Client's Site From 5MB to 400KB With the Image Toolkit
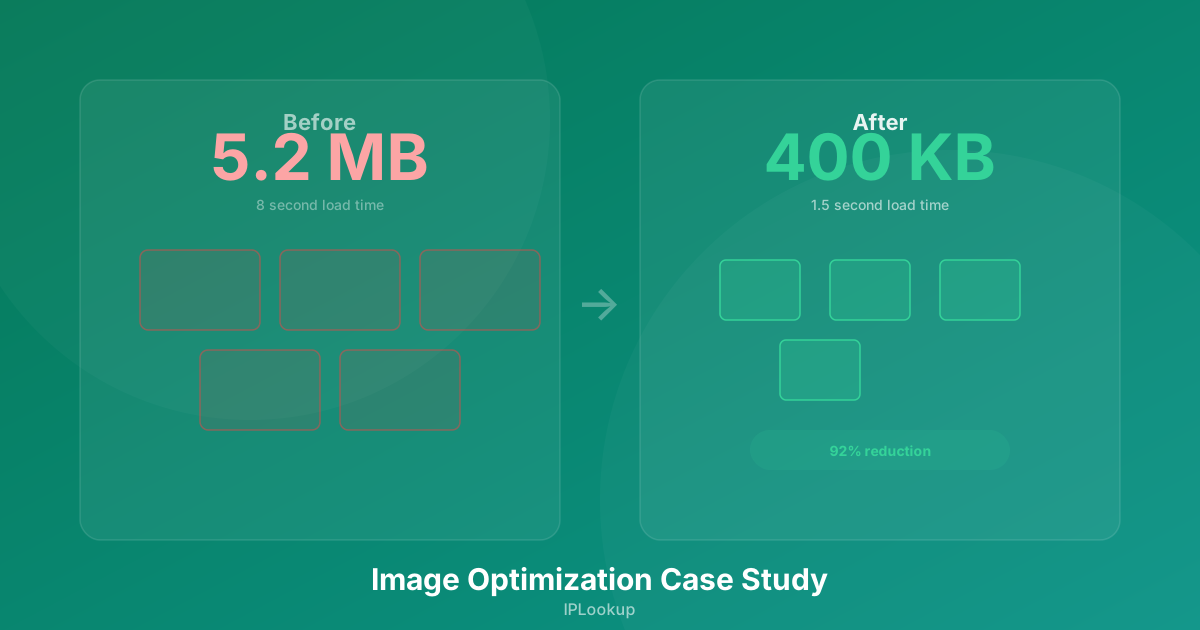
A friend asked me to look at his photography portfolio. The site looked great — full-bleed hero images, gallery grids, high-res previews. It also took 8 seconds to load on a fast connection. On mobile, it was closer to 20 seconds.
I ran the Website Audit and confirmed what I suspected: the images were the problem. The homepage alone had 5.2 MB of unoptimized JPEGs straight out of his camera. The audit flagged every single one as oversized.
So I grabbed the Image Toolkit and spent an afternoon compressing everything. Here’s exactly what I did.
Round 1: Compression Only
The camera JPEGs were massive — 6000x4000 pixels at minimal compression. The Toolkit’s default quality slider goes from 1 to 100%. I dropped the quality to 70% on the first pass. Simple compression brought the 5.2 MB homepage down to 1.8 MB without changing dimensions. Visible quality loss? Almost none. The only difference I could spot was in areas of smooth gradient, like skies — the 70% version showed faint banding that the original didn’t.
Results so far: 5.2 MB → 1.8 MB (65% reduction)
Round 2: WebP Conversion
The Toolkit supports three output formats: JPEG, PNG, and WebP. WebP typically gives 25-35% better compression than JPEG at the same quality level. Google’s WebP documentation reports that lossy WebP images are 25-35% smaller than JPEG at equivalent SSIM quality (source). I converted every image to WebP at 70% quality.
Not all browsers support WebP (Safari started in 2020, some older Android browsers don’t). But the Toolkit outputs WebP files with an original-JPEG fallback option, so I kept both formats and served WebP with a JPEG fallback. This added maybe an hour of work to the whole project.
Results so far: 1.8 MB → 900 KB (another 50% reduction from JPEG at same quality)
Round 3: Resizing
The hero images were 6000px wide. My friend’s gallery grid displays images at a maximum of 1920px. Those extra 4000 pixels were doing nothing but adding weight. I resized every image to its display resolution.
For the hero images, 1920px wide at 70% quality WebP. For gallery thumbnails, 800px wide. For the lightbox view, I kept the originals but served them on click instead of preloading.
Results so far: 900 KB → 400 KB (another 55% reduction)
Total: 92% Reduction
| Stage | Size | Reduction |
|---|---|---|
| Original JPEGs | 5.2 MB | — |
| JPEG at 70% quality | 1.8 MB | 65% |
| WebP at 70% quality | 900 KB | 83% |
| WebP resized + compressed | 400 KB | 92% |
The page went from 8 seconds to under 1.5 seconds on the same connection. Lighthouse performance score jumped from 32 to 94. Google Search Central includes Largest Contentful Paint (LCP) as a Core Web Vital — images are the most common cause of poor LCP, and optimizing them is one of the highest-impact fixes (source). My friend’s bounce rate dropped from 68% to 41% over the next month.
The Settings I’d Recommend
For most use cases, here’s a good starting point:
- Quality: 70-80% for photographs, 50-60% for backgrounds/decorative images
- Format: WebP for everything, JPEG fallback for browsers that don’t support it
- Max width: 1920px for hero/full-width images, 1200px for blog content, 800px for thumbnails
- Strip metadata: Always. Camera EXIF data adds kilobytes for no visible benefit.
The Image Toolkit handles all of this in one interface. Upload, adjust, download. The only manual part was deciding which sizes and quality levels worked for each image category — and that was a one-time decision, not per-image work.
What I’d Do Differently Next Time
I should have started with the largest images first. I spent time compressing small thumbnails that contributed almost nothing to load time. The 80/20 rule applies to image optimization: the biggest files give you the most savings.
I also should have set up automated processing from the start. My friend’s workflow involves uploading new photos weekly, and manual optimization every time isn’t sustainable. I eventually wrote a simple script using the same principles, but doing it manually for the first batch helped me understand exactly which settings worked.
If you have a slow site, check the image sizes first. It’s the highest-ROI performance fix you can make.